How to Optimize 3D Models and Save Money on 3D Printing
- Tamara Arkhangelskaya
- Dec 18, 2024
- 4 min read
Updated: May 6
Are you looking for ways to save money on 3D printing projects without sacrificing quality? Understanding how to optimize 3D models for 3D printing efficiently is key. For our demonstration, we’re using Meshmixer, a free and accessible tool that simplifies the process of optimizing 3D models. By learning to hollow models and applying the right techniques for FDM, SLS, and SLA printing, you can significantly reduce material usage and lower costs.

Here’s a step-by-step process to optimize 3D models for 3D printing, including practical tips tailored to the printing technology you plan to use. Let’s imagine that we will use SLS 3D printing technology for our purposes.
Step 1: Start with a Solid Model
To begin, we created a simple cube measuring 20 mm × 20 mm × 20 mm (0.79 in × 0.79 in × 0.79 in) as our base model. These dimensions provide a clear starting point for understanding material usage and optimization.

Establishing the model’s size helps us see how much material would be consumed if we printed it as a solid object.
Step 2: Measure the Volume of the Solid Object
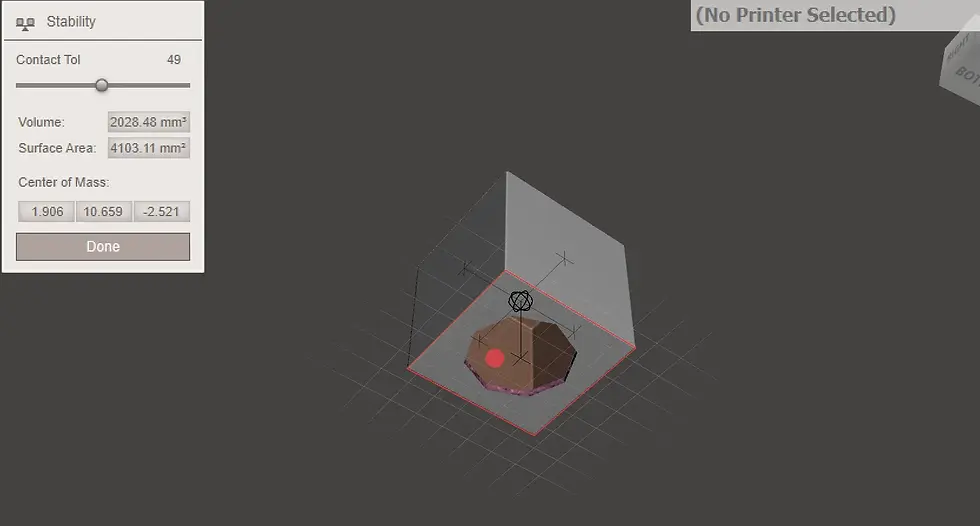
Next, we need to calculate the volume of the solid cube. Using Meshmixer’s Stability tool, we determine that the cube has a volume of 8000 mm³ or 8 cm³ or 0.49 in³.

This volume represents the total material that would be used if the cube were printed in its solid form—leading to higher costs and unnecessary material usage.
Printing a solid object is often overkill unless structural strength is critical. The solution? Hollowing the model to achieve significant material savings. This trick may be very helpful when you use SLS 3D printing technology. Please see our specific tips for saving money on other types of 3D technology below.
Step 3: Hollow the Model
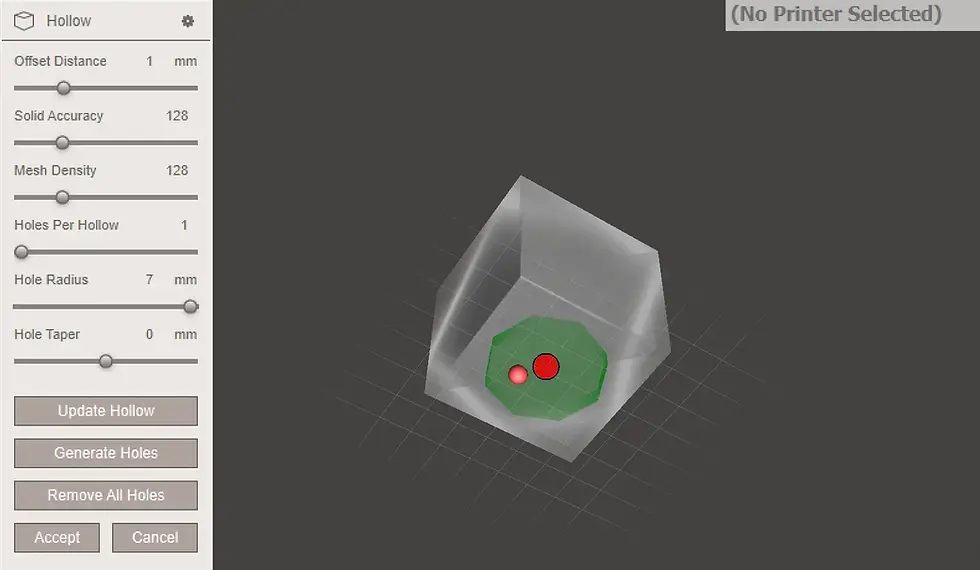
Using Meshmixer’s Hollow tool, we reduce the internal material while keeping the walls strong enough for printing. Here’s how:
Set the Offset Distance (wall thickness) to 1 mm (0.04 inch) —a safe value that ensures the cube’s durability.
Add a single escape hole with a radius of 7 mm (0.28 inch). This is crucial for printing technologies like SLS and SLA, as it allows excess material (powder or resin) to escape during and after printing.

At this stage, the cube is optimized for 3D printing, and we can now measure the material savings.
Step 4: Measure the Volume of the Hollowed Object
After hollowing, we check the volume again. Meshmixer reveals that the hollowed cube now has a volume of 2028.48 mm³ or 2 cm³ or 0.12 inch³ —a reduction of nearly 75% compared to the solid cube.

This dramatic reduction in material translates directly to cost savings, particularly for larger models or batch prints.
Technology-Specific Tips for Optimizing Your Models
While hollowing works across all 3D printing methods, different technologies have specific considerations to keep in mind:
1. FDM (Fused Deposition Modeling)
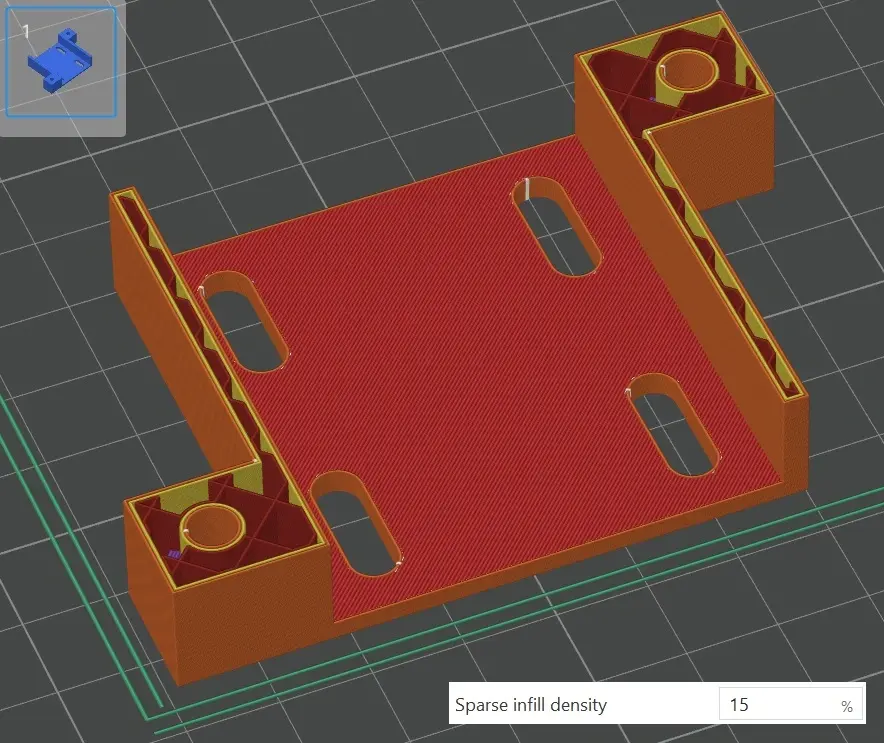
Instead of hollowing completely, use infill settings to save material while maintaining strength upon preparing your models for 3D printing FDM.
Avoid extremely thin walls, as FDM-printed objects with thin walls are prone to breaking along their layers. Use reduced infill for material efficiency instead.
2. SLS (Selective Laser Sintering)
For SLS 3D printing, hollowing models may be quite effective. However, over-optimizing (e.g., excessively using net-like structures) can result in the increase of 3D printing costs from third party service providers for handling such complex geometries.
Add large escape holes (5–7 mm or 0.2–0.28 inch in size) to ensure excess powder can be removed easily after printing.
3. SLA (Stereolithography)
In SLA printing, resin gets trapped inside hollowed spaces. To avoid such situations, you may either:
Add escape holes to allow excess resin to drain.
Alternatively, design so one side can be detached for cleaning and reattached after printing (e.g., the bottom of an action figure). For high-precision results, explore our SLA 3D printing services designed to handle complex geometries and smooth finishes.
Why Optimizing 3D Models for 3D Printing Matters
Learning how to optimize 3D models for 3D printing not only lowers costs but may also shorten print times and minimize waste. Hollowing your models, adjusting wall thickness, and tailoring the design to the technology are essential steps to improve efficiency.
By reducing the volume of a simple cube by 75%, we demonstrated how easy it is to achieve significant material savings using Meshmixer. Imagine applying this process to more complex models—you’ll save money, time, and materials across all your projects.
Now that you know how to optimize 3D models for 3D printing to save money, it’s time to put your skills into action. Whether you’re experimenting with Meshmixer or optimizing your designs for FDM, SLS, or SLA, the results speak for themselves: reduced material usage and lower printing costs.
If you’re ready to turn your optimized models into high-quality prints, explore our custom 3D printing service at Upside Parts. Our experts ensure your designs are brought to life with precision and efficiency—saving you time and hassle.


